Agency Assessment Funnel
Capture More Qualified Appointments With Less Effort.

Pat Murphy
Last Update 5 anni fa
Our agency assessment funnel is perfect for any business that needs to qualify leads and put them on your calendar.
This funnel is comprised of the following sections:
1. Optin
2. Survey
3. Calendar Booking
4. Thank You
5. Disqualification
The purpose of this funnel is to help identify your ideal target audience. Since people can be disqualified along the journey, not everybody is going to make it through. This will help focus your attention on the appointments they do make it through.
Making Edits
Having A Compelling Offer
The content on the main optin is meant to be changed. This is where your irresistible agency offer goes.
You can insert pictures, animated images, and videos to make your page more compelling and engaging.
The setup time of this funnel will vary depending on the person creating the content. For example, some agency owners already have their ideal message; other agency owners still need to develop theirs. But one thing is for sure; this is a perfect foundation to start getting your ideal prospects on the other end of the line!
Connecting Your Domain (or subdomain)
IMPORTANT: If you have not pointed the CNAME record of your subdomain to the Sales Center yet, here's how to do it. You only need to do this one per domain. Once this is set up on the domain you want. You can use that domain name with as many funnels you would like.
Your agency assessment funnel can be pointed to the domain (root) or subdomain of your choice. Typically our agency partners put this catalog under a subdomain such as info.youragencyname.com.
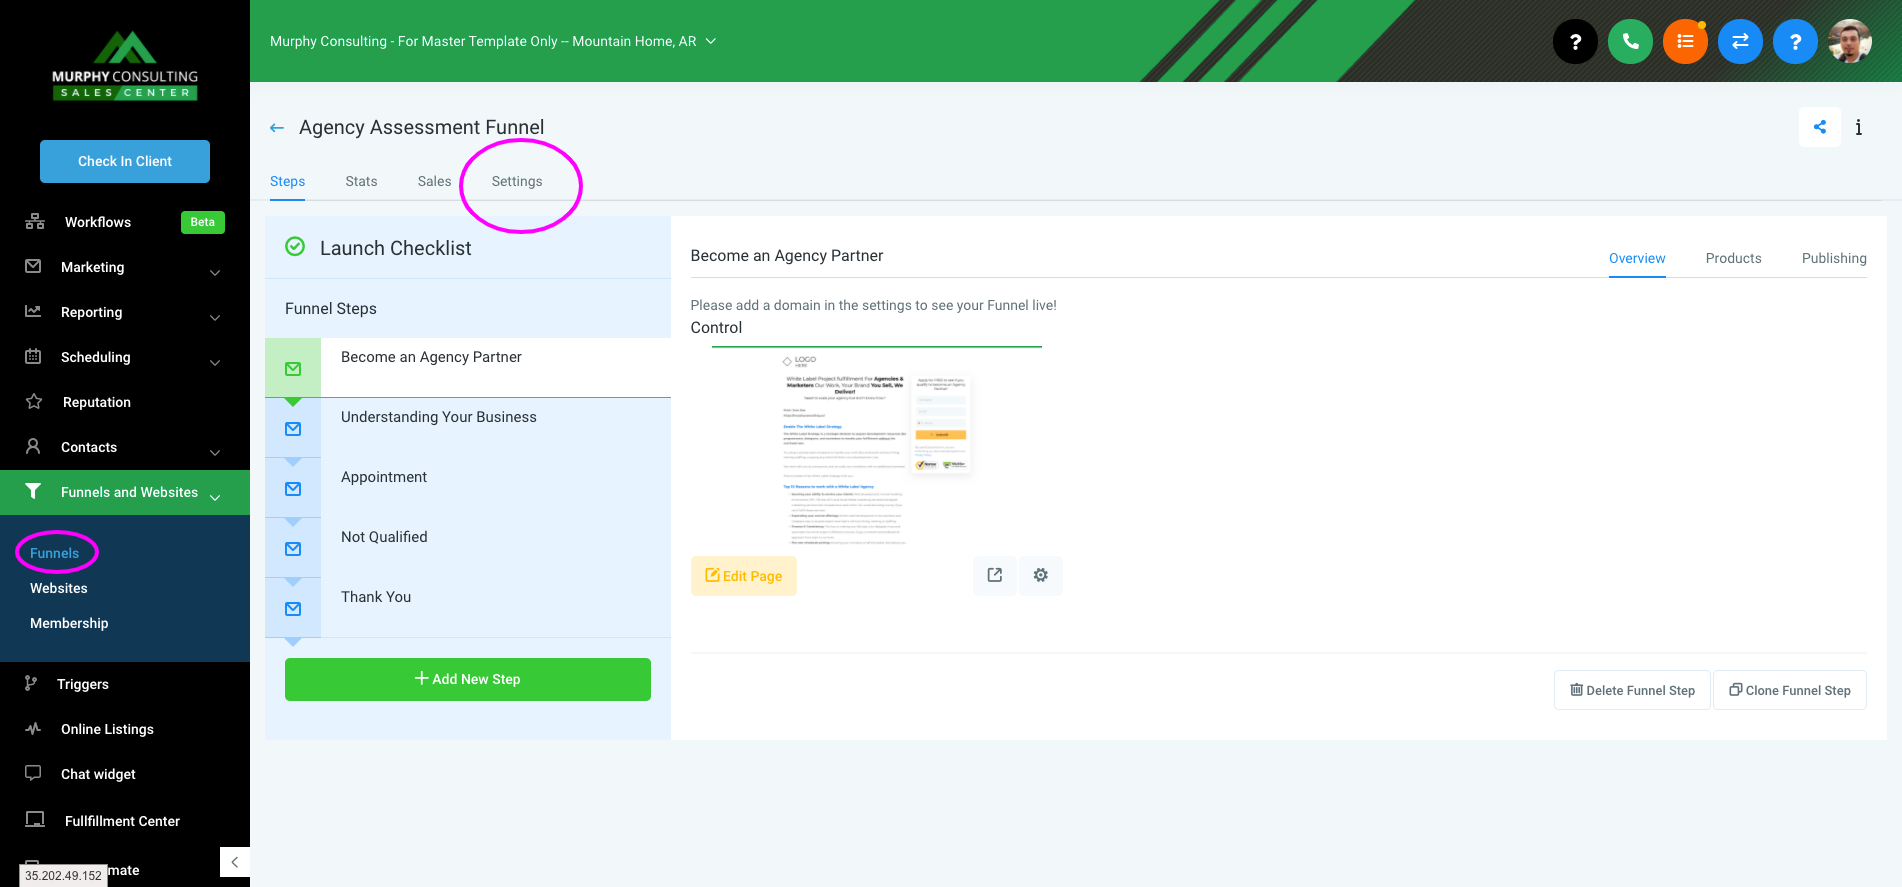
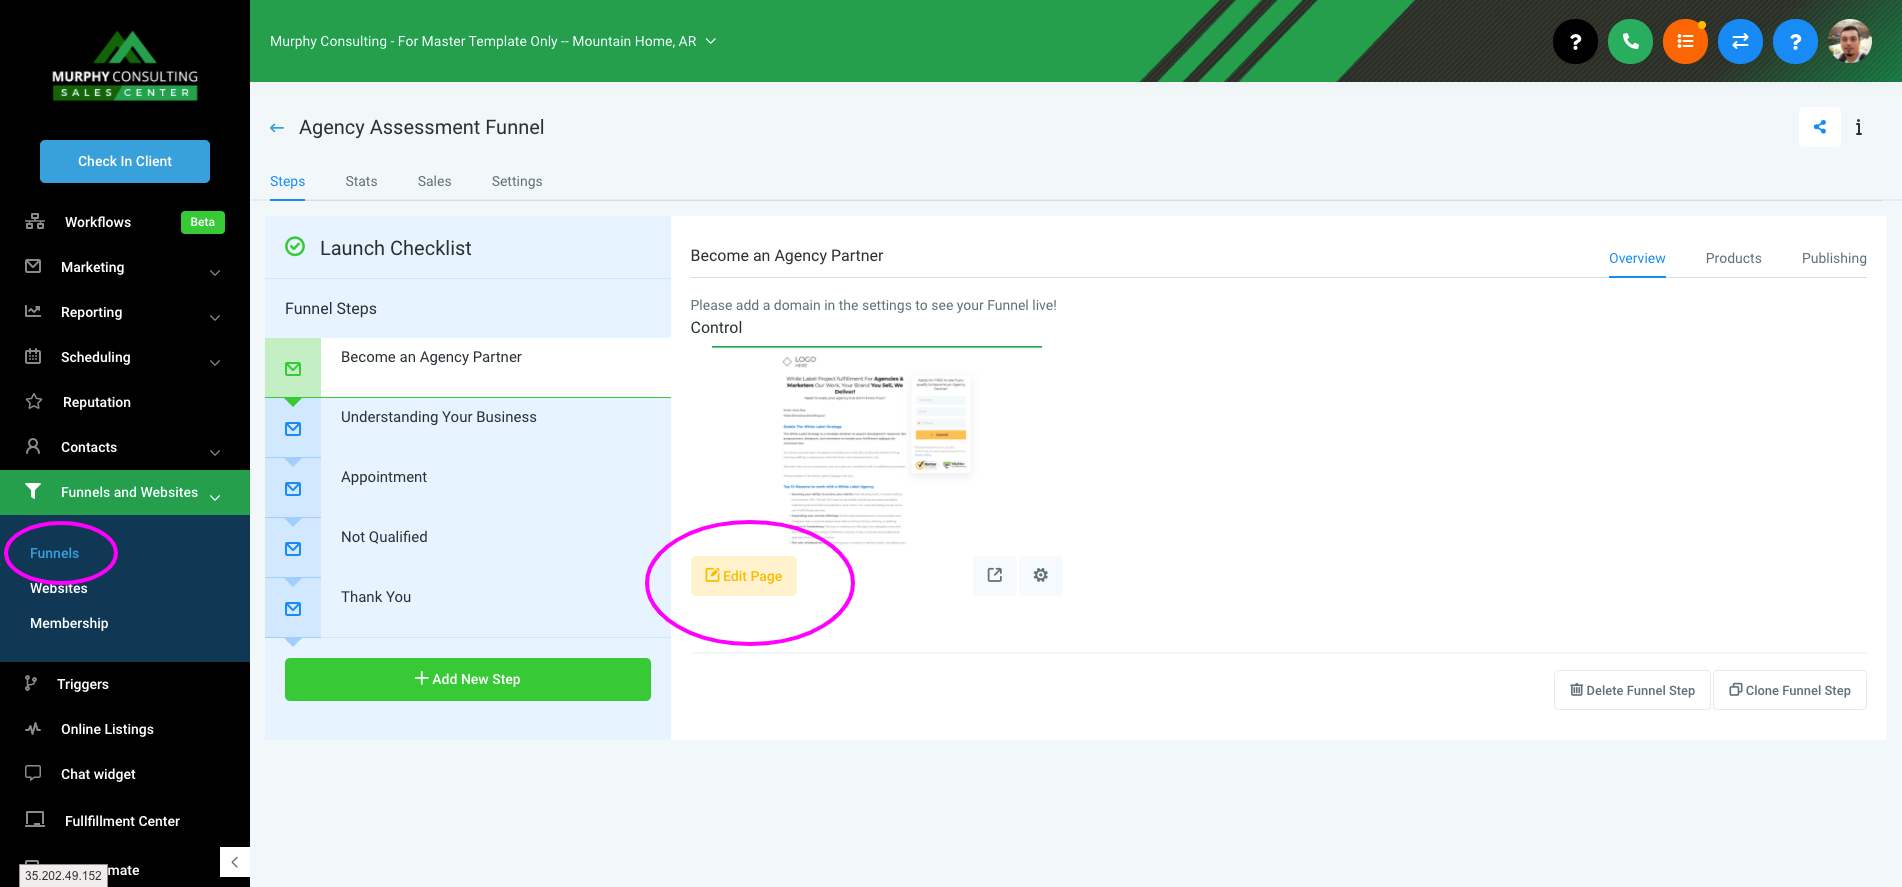
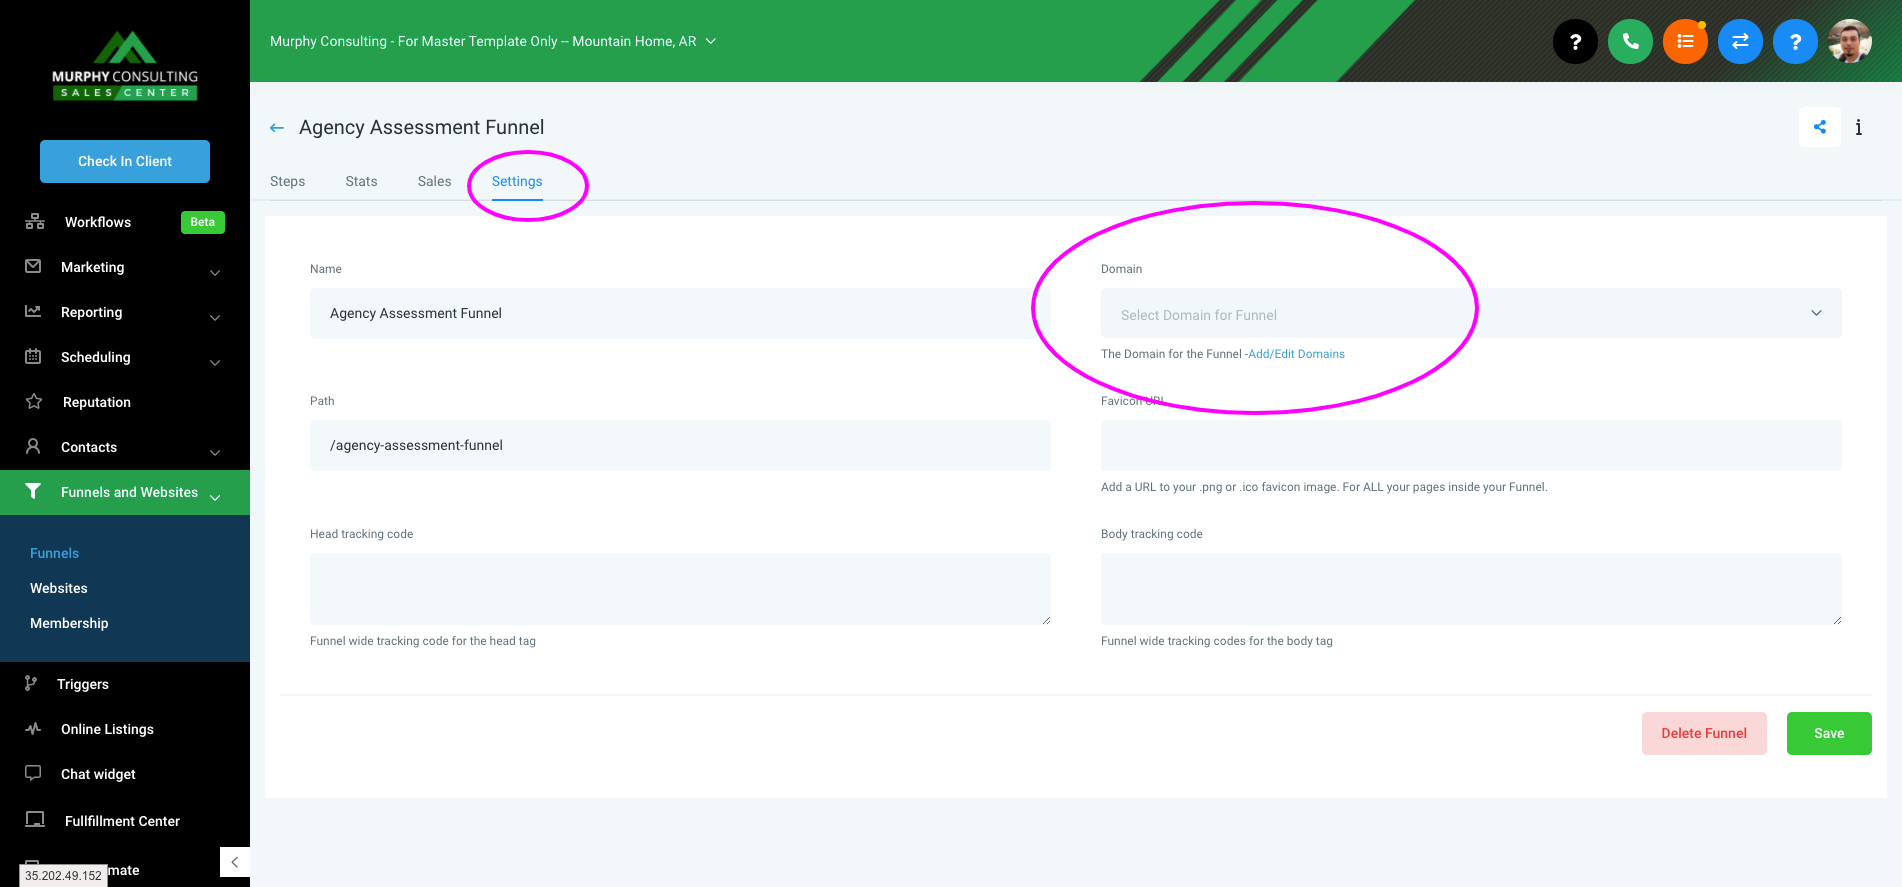
To associate a domain name to your funnel, while inside of the funnel, go to the settings tab. From here, you can select a domain name from the drop-down list or add a new domain.
Once your subdomain is connected, you are live! You can then start sharing the link with customers, or have it linked to one of the menu items of your website.
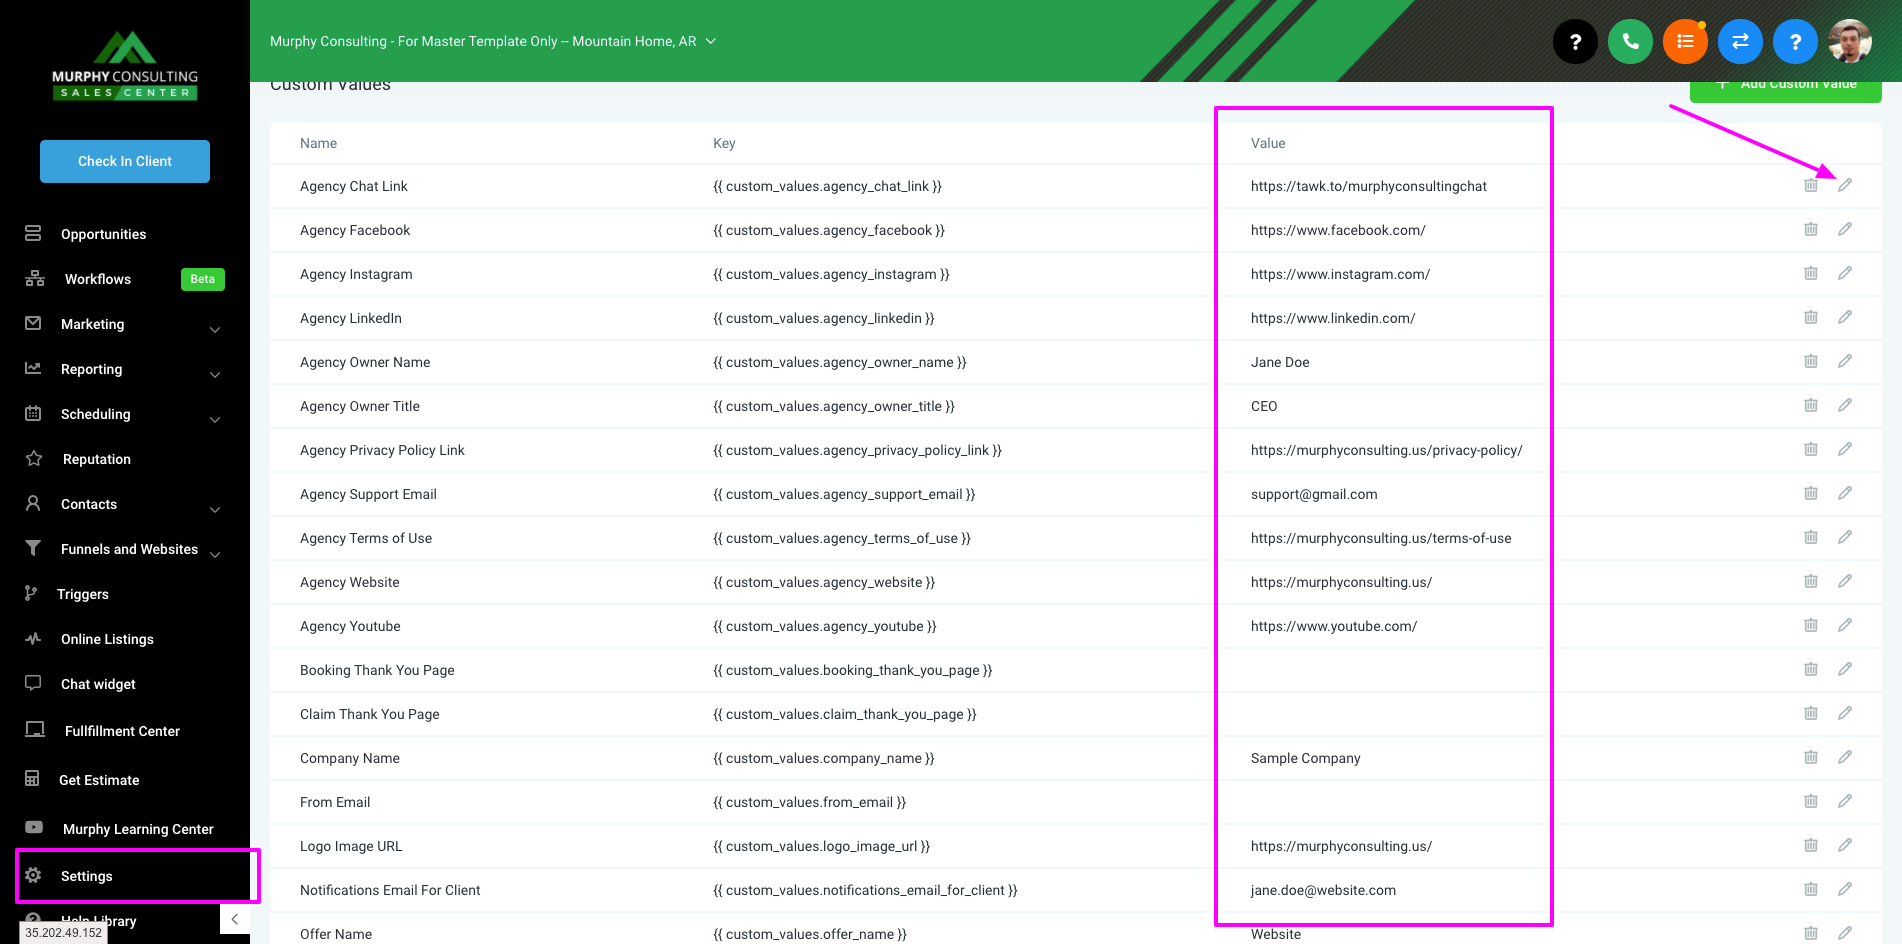
Setting Up Notifications (2 minute setup)
Important: If you've set up all of the custom values on any of our funnels in the past, then you don't have to do it again. All funnel notifications will be configured to send to the correct contact.
You have the ability to route the notifications however you would like. By default, we have the catalog set up to send all lead notifications to your Agency's Email. To complete the notification setup process, simply go to Settings > Custom Values and fill out the value of each label.